Move this
This page describes the functionality and quirks of the “Move this” action which seamlessly relocates a selected message to another channel, thread, or forum post. Besides the content, the message’s author name and avatar, attachments, reactions, stickers, embedded data are also moved.
Selecting the action
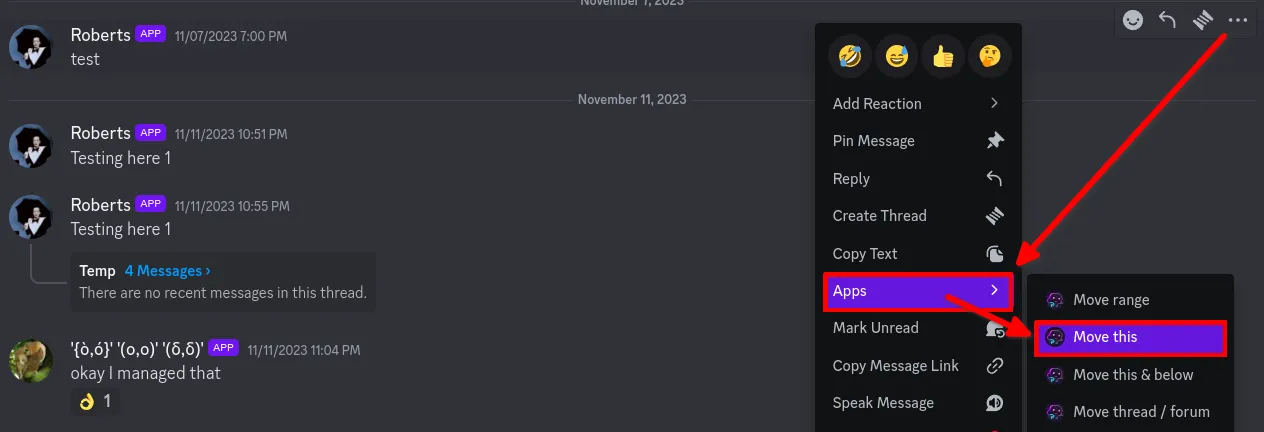
To select the message that needs to be moved either right-click it or click the 3 dots on the right side of the message. Then under “Apps” click the “Move this” action.
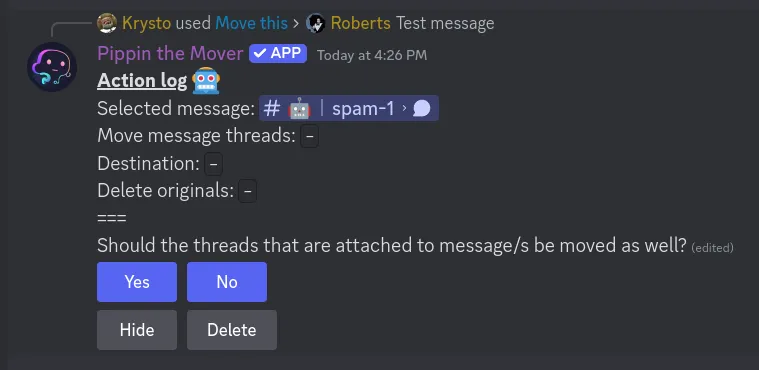
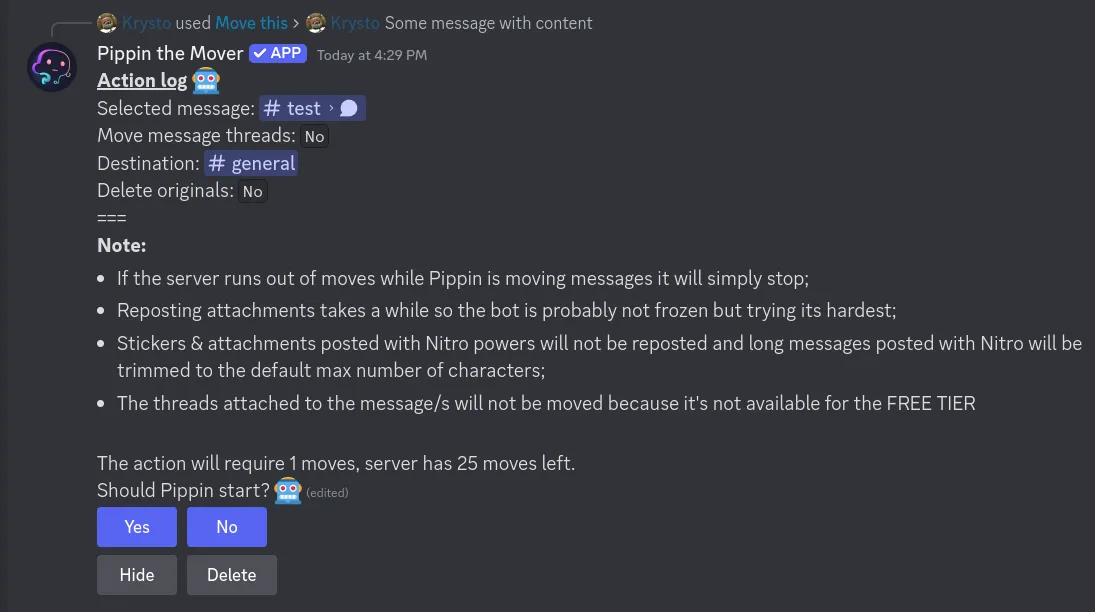
A new message will be sent in the channel that the message was selected in. It will be visible to other users as well, however, they will not be able to interact with it. Only the user that initiated the action can interact with the “Action log” of Pippin.
At the bottom of the action log there are two buttons - “Hide” and “Delete”. Clicking “Hide” will hide the message from other users and clicking “Delete” will delete the action log.
Moving attached thread
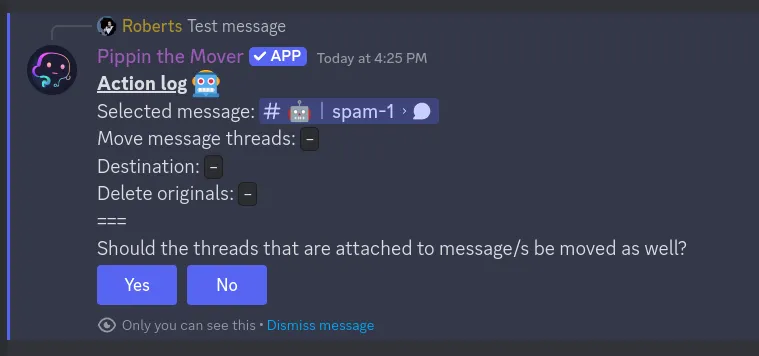
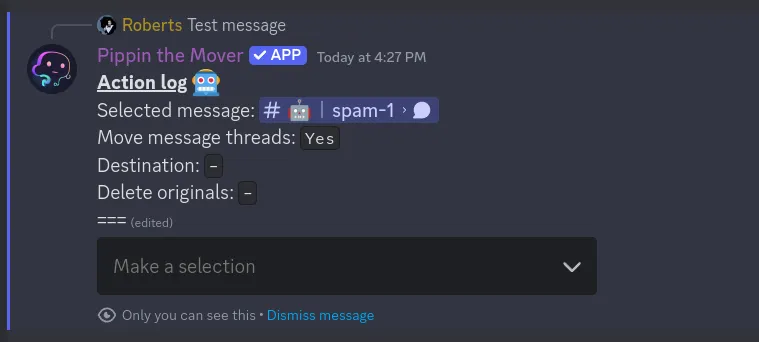
Now it’s necessary to fill out the action log. The first item on the action log is the message that was selected. By clicking the message you’ll be taken to it.
It’s necessary to note that it’s possible to move threads that are attached to the selected message. If “Yes” is selected then the selected message and the attached thread will be moved together, otherwise only the selected message will be moved.
Destination
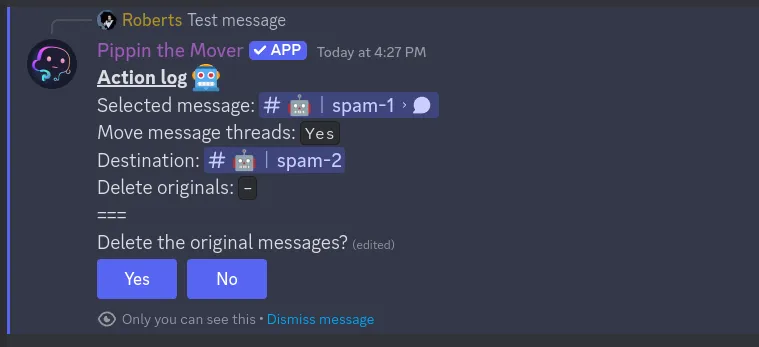
Next it’s necessary to select the destination the message needs to be moved to by clicking the dropdown. A list of channels, threads, and forum posts will show up. Only text rooms that the user can access will show up.
The selected destination will show up on the action log. By clicking it you’ll be redirected to the destination.
Message deletion
The last step is to select if the original message should be deleted or not. If “Yes” is selected then after the message is moved the old message will be deleted.
Confirm move
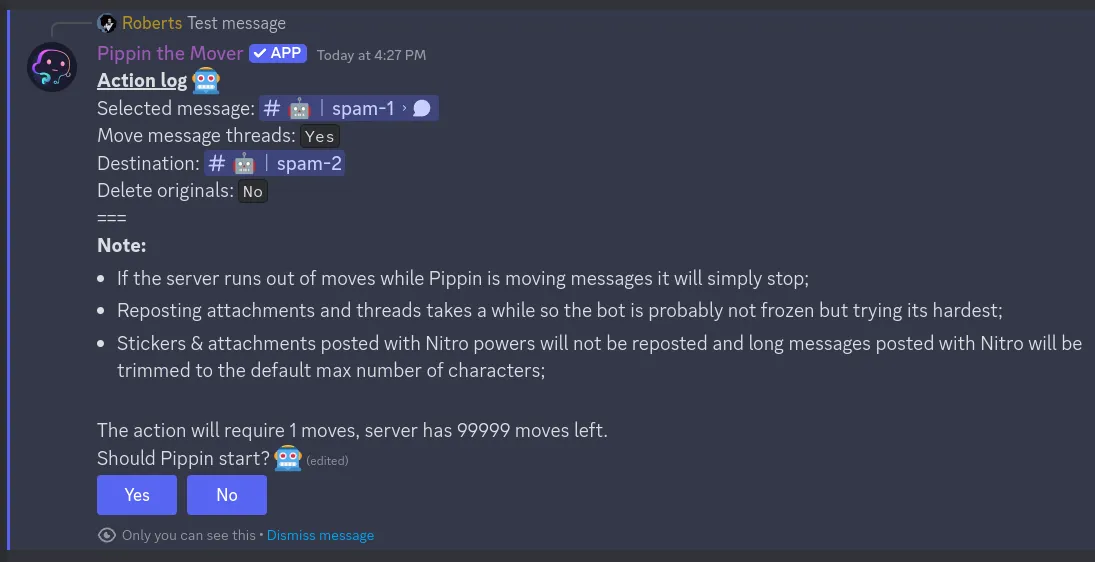
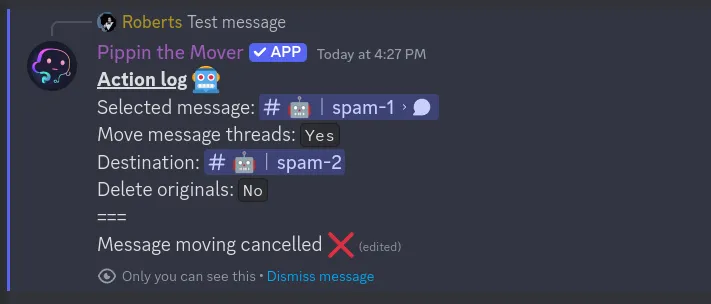
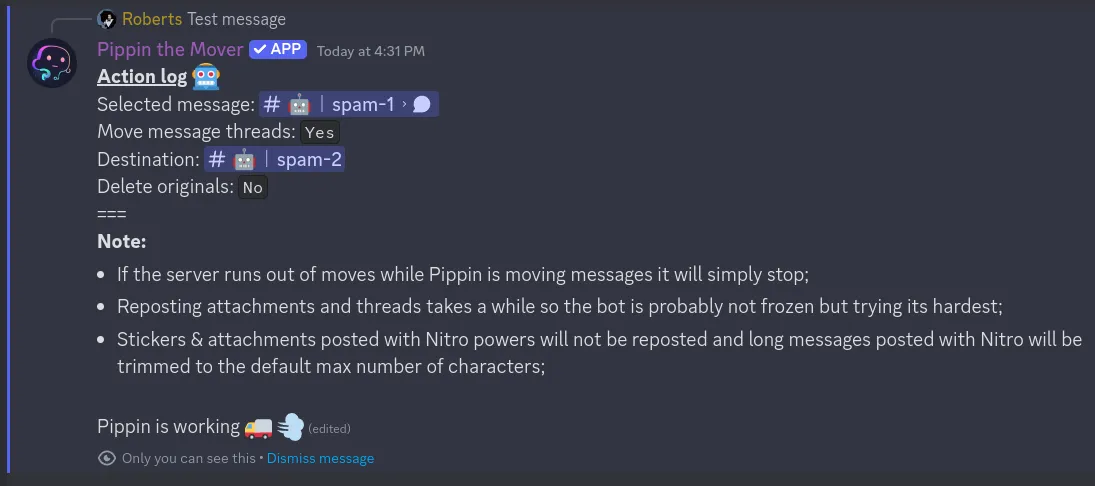
After selecting all of the options for the action log, Pippin will display multiple notes regarding the quirks of moving messages, the amount of moves that are required for the move, the amount that is left for the server, and give you the option to commence with the message moving.
For the free tier users the notes also contain an explanation as to why the default value for “Move message threads” is “No”.
If “No” is selected then the message moving is cancelled.
Pippin working
Pippin will start working right after the “Yes” button is selected.
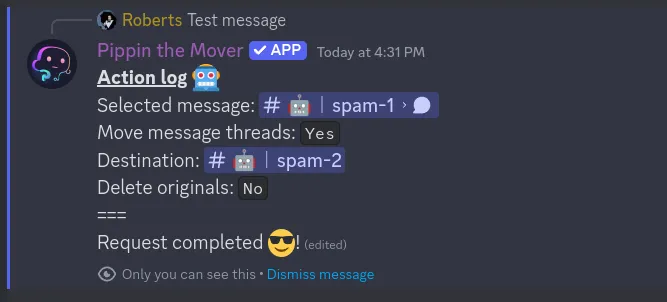
When Pippin is finished the message will change to completed.